
A picture is worth a thousand words, especially when troubleshooting an issue remotely. This is why TechOps will often request a screenshot of the issue you are experiencing. We need to be able to view the symptoms of the issue you are describing, and a screenshot aides this process.
This tutorial will explain how to create a screenshot using the built-in Snipping Tool in Windows!
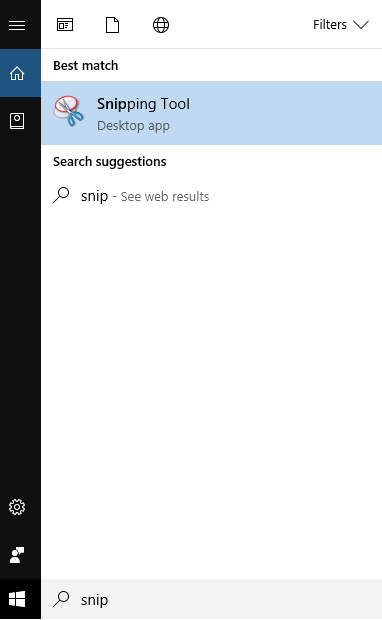
Step 1: Search “Snip” in the Windows Search Bar
a. This will bring up the Snipping Tool program. Click on the first result to open the application.
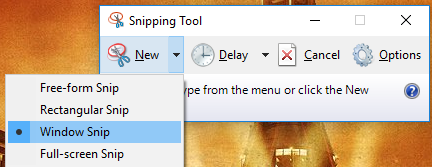
Step 2: Select Window Snip
a. Click on the dropdown arrow next to “New” then select “Window Snip.”
b. With Window snip selected you should see a red outline around the window you were previously viewing.
c. Click on the window that shows the problem you are experiencing. This will capture the screenshot.
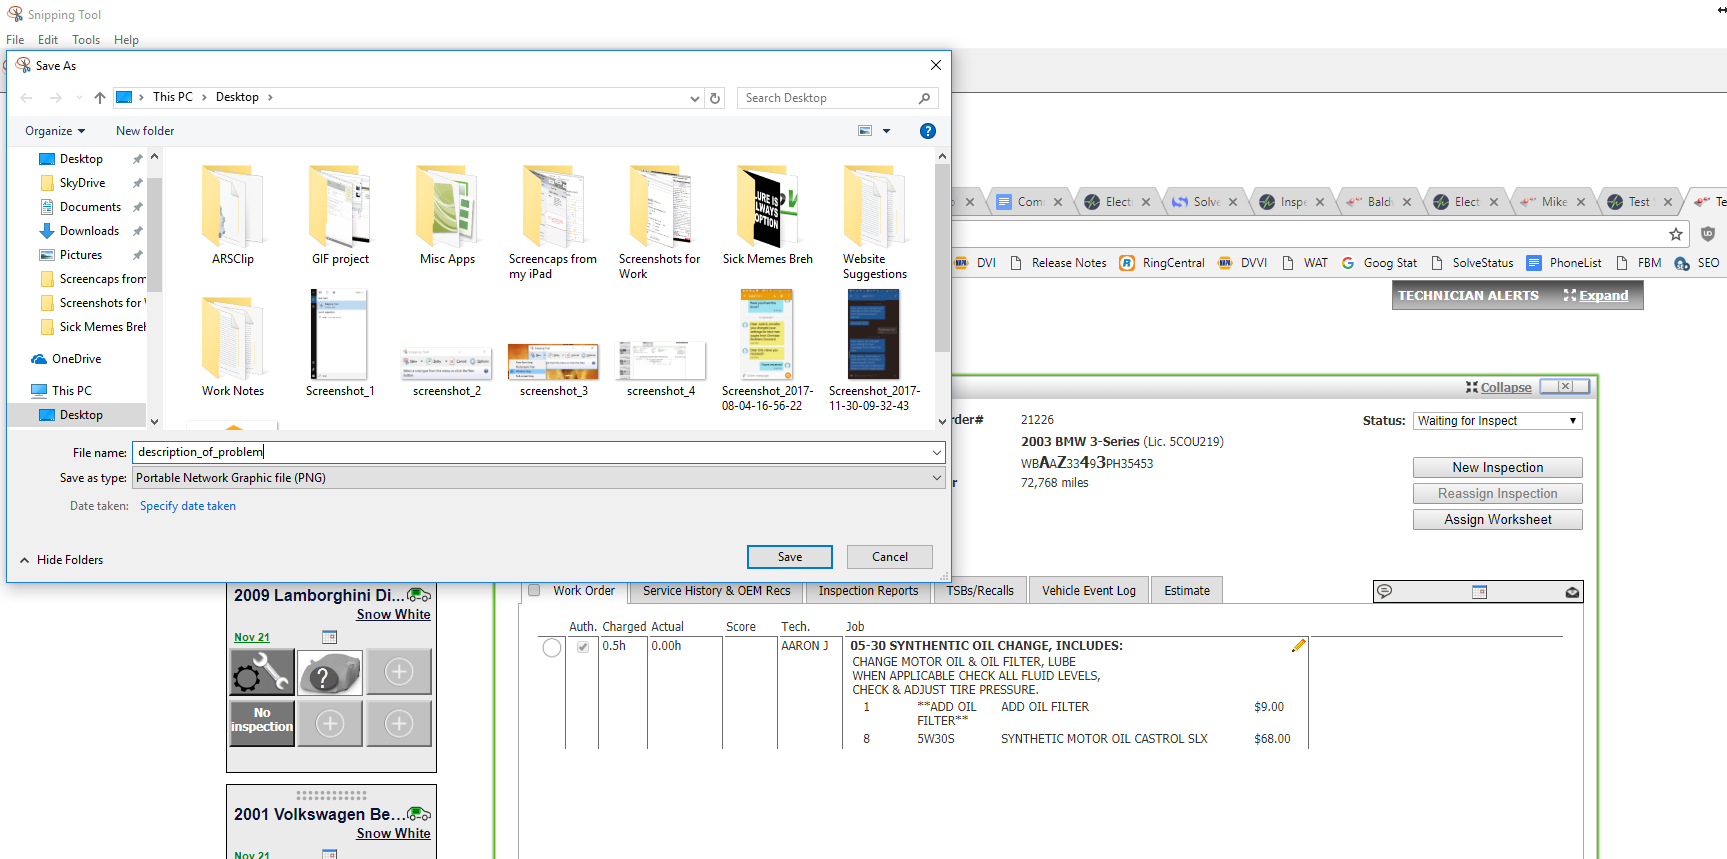
Step 3: Save the Screenshot
a. Click the save (floppy disk) icon.
b. Give the screenshot you just took a name. This name can be a brief description of the issue.
c. Save the screenshot to the desktop so that you can easily find it.
Congratulations! You have successfully captured a screenshot of your problem. Your last step is to send this image in a response to the ticket you have created, which will aid the technician troubleshooting your issue and bring about a speedy resolution to your problem.
Latest posts by brian (see all)
- How to Install the Latest Turbo Version of the SmartFlow App - December 15, 2017
- How to Install the Latest Standard Version of the SmartFlow App - December 15, 2017
- How to Take a Screenshot Using Windows Snipping Tool - December 8, 2017