Quick Start Guide for iPad Users
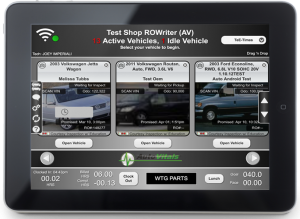
We would like to welcome you to the AutoVitals family and congratulate you on taking an important step toward a more efficient digital shop. We know you will find the tablet based digital inspection to be a remarkable tool, and we want to make sure you are completely successful. Below you will find detailed steps to: Turn on and configure your new iPad, download and install the AutoVitals solution you have chosen to use, and login to your app.
Note: The screenshots may look a little different on your iPad depending on the version of IOS installed.
Setup your new iPad
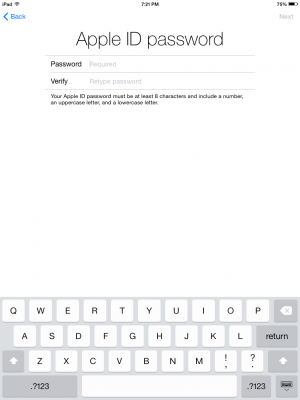
Your new iPad comes un-configured so that you can customize it for you shop’s specific use. The following steps show you have to turn it on and configure the device. There are images of the screens that will appear at each step. Click on any image to show it larger. You will need to know the name and password for your wireless network. You will also be asked to sign in with an Apple ID or iTunes account. You should create a new one to be used for your shop and do not use your personal iTunes .
Power on the Device
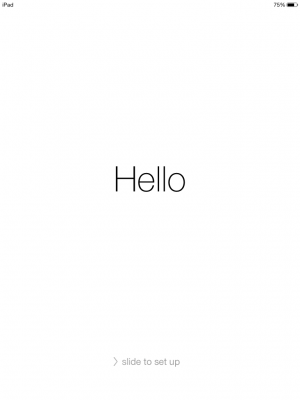
To begin you’ll have to turn on the device. To turn it on, push and hold the power button at the top right corner of the screen. If it does not go on right away hold the button until you see the Apple Logo. When you see the home screen follow the directions at the bottom of the screen and slide to the right to begin. In the rare case that the iPad is not responding, you can reset the device by using the following process.
- Press and hold the Power button and the HOME button in the bottom middle of the screen at the same time until the Apple logo appears (10-12 seconds).
- Release both buttons and wait for the home screen to appear

Swipe to Begin
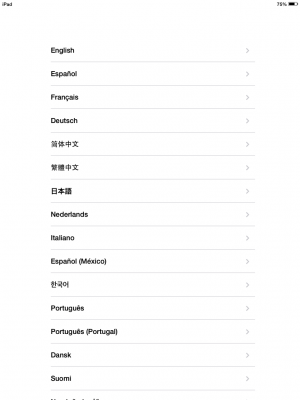
Enter your language of choice
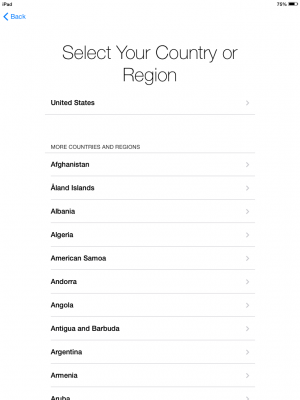
Select your country
Choose your WiFi Network
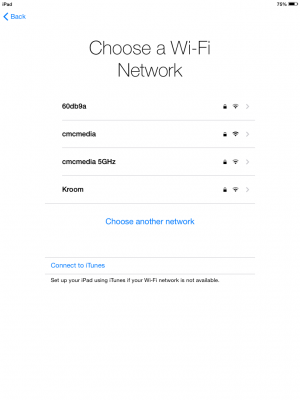
Enter your WiFi Password

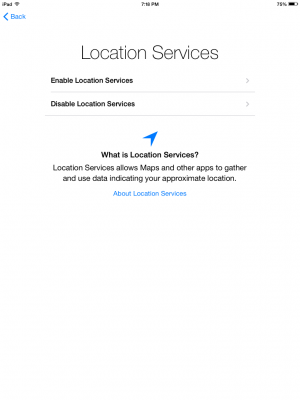
Use Location Services
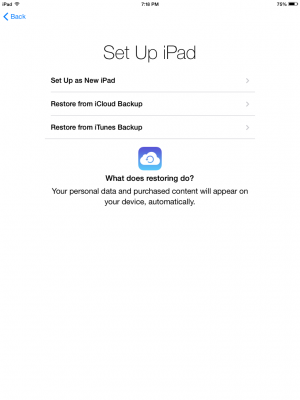
Set Up iPad
You will want to setup this iPad as a new device. The option to restore device from the cloud would be used if you were recovering your previous data on an iPad that is being reset. You will also be asked to enter an Apple ID. If you have not already created an Apple ID for your shop select Create a Free Apple ID. This is going to be used for updating the device when needed and to download Apps from the App Store. Also you probably do not want to use a personal Apple ID since devices sharing a single Apple ID will share photos apps and iTunes music. Continue following the pictures below to complete setting up your iPad.
Setup as a New iPad
Create a New Apple ID
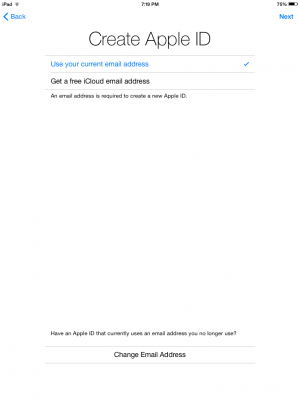 Create Apple ID with an existing email address
Enter a Birthday > 17 yrs
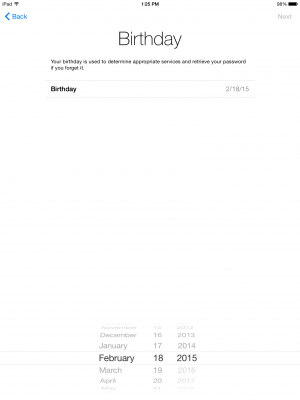
Assign a Name to your iPad
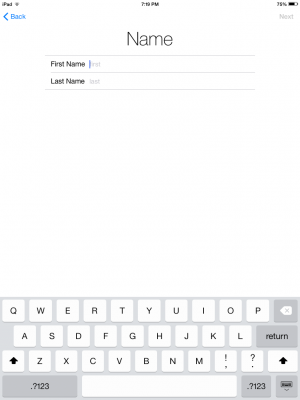 Give your iPad a name.
Enter your Email Address
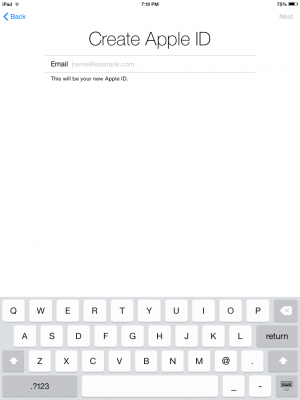 Enter your email address to create your apple ID.
Security Qs in case your forget your Password
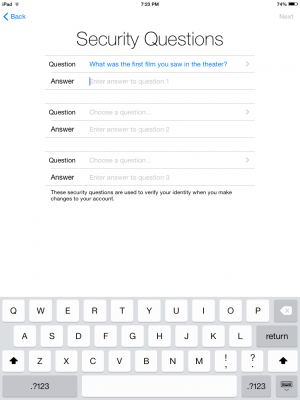 Answer three security questions provided in case you ever forget your password.
Rescue Email for Lost Password

Opt out of Email Updates

Agree to Ts and Cs
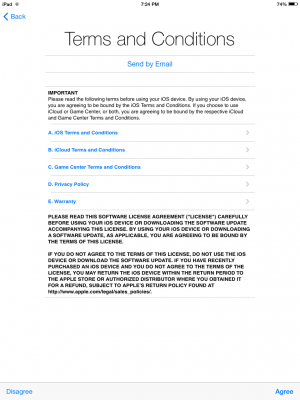 Agree to the terms and conditions to continue
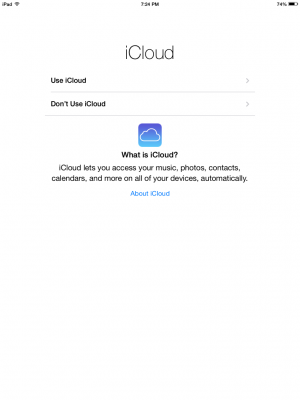
Dont’ Use iCloud
Don’t Add a Passcode
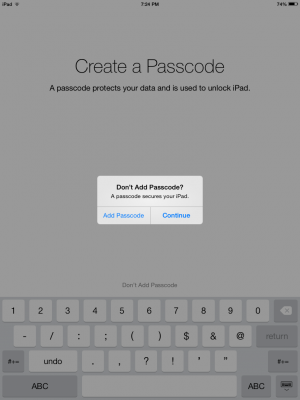 Adding a passcode will require multiple people to know it which can be a nuisance in the workplace.
Setup Siri for Voice to Text
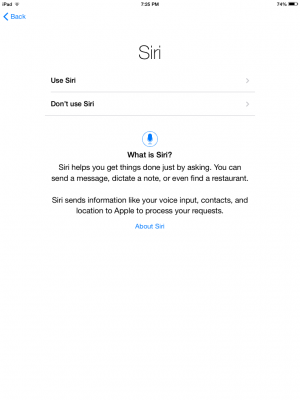 Use Siri.
Get Started
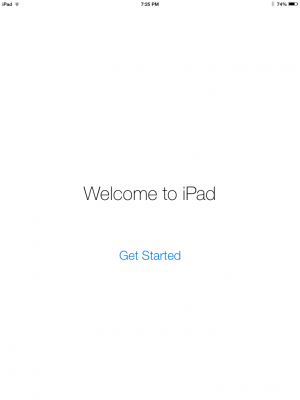 Now that you’ve completed setting up your iPad, you can set up the relevant AutoVitals app
Downloading SmartFlow, NAPA DVI, or NAPA DVVI on Your iPad
Now that you have completed the initial iPad set up you will want to download the program you have chosen. You can do this clicking to open the App Store which is the blue button shown in the picture below.
![]() You will need to download the program you have signed up for by searching “AutoVitals SmartFlow”, “NAPA DVI”, or “NAPA DVVI” in the search bar located at the top right of the home screen. You may be prompted to enter the Apple ID password you created earlier to download your apps.
You will need to download the program you have signed up for by searching “AutoVitals SmartFlow”, “NAPA DVI”, or “NAPA DVVI” in the search bar located at the top right of the home screen. You may be prompted to enter the Apple ID password you created earlier to download your apps.

You will need to download your chosen app from the App Store shown above
SmartFlow Setup

If you have purchased SmartFlow go to the App Store and search “AutoVitals SmartFlow” in the search bar located at the top right of the screen. Once located, click “get” to download SmartFlow. The application will install and you should have the SmartFlow icon appear on your home screen like the picture on the right. Click the button below if you are ready to start using SmartFlow and would like to begin SmartFlow Interactive Training. SmartFlow Interactive Training
NAPA DVI Setup

If you have purchased NAPA DVI go to the App Store and search “NAPA DVI” in the search bar located at the top right of the screen. Once located, click “get” to download NAPA DVI The application will install and you should have the NAPA DVI icon appear on your home screen like the picture on the right. Click the button below if you are ready to start using NAPA DVI and would like to begin DVI Interactive Training. DVI Interactive Training
NAPA DVVI Setup

If you have purchased NAPA DVVI go to the App Store and search “NAPA DVI” in the search bar located at the top right of the screen. Once located, click “get” to download NAPA DVVI The application will install and you should have the NAPA DVVI icon appear on your home screen like the picture on the right. Enter the DVVI app
- Enter your NT code (ask your NAPA advisor if you don’t have your NT number)
- Confirm or change the email address
Click the button below if you are ready to start using DVVI and would like to begin DVVI Interactive Training. DVVI Interactive Training
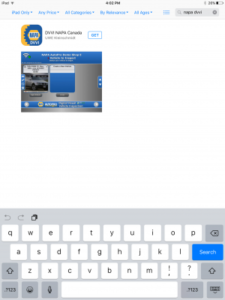
Search “NAPA DVVI” in the search bar located to the top right of the app store home screen.
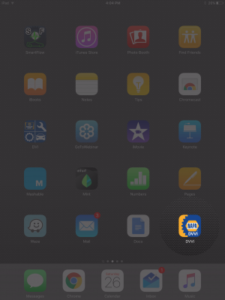
After NAPA DVVI has finished installing you should see the blue and yellow button highlighted above appear on your home screen.
NAPA DVVI Setup

If you have purchased NAPA DVVI go to the App Store and search “NAPA DVI” in the search bar located at the top right of the screen. Once located, click “get” to download NAPA DVVI The application will install and you should have the NAPA DVVI icon appear on your home screen like the picture on the right. Enter the DVVI app
- Enter your NT code (ask your NAPA advisor if you don’t have your NT number)
- Confirm or change the email address
Click the button below if you are ready to start using DVVI and would like to begin DVVI Interactive Training.
DVVI Interactive Training
- V5.0.12 Topic and Photo/Image/Notes Editor - April 9, 2019
- Changing your PoS Server Guidelines - February 28, 2018
- Lost Customer Email Campaign - October 2, 2017

